|
|||||
|
|
|
|
|
|
|
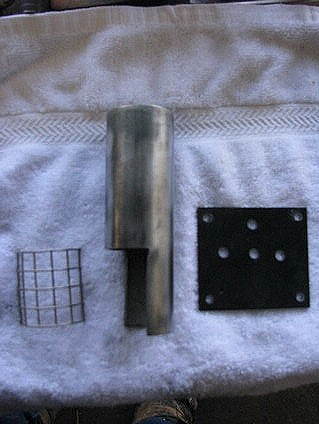
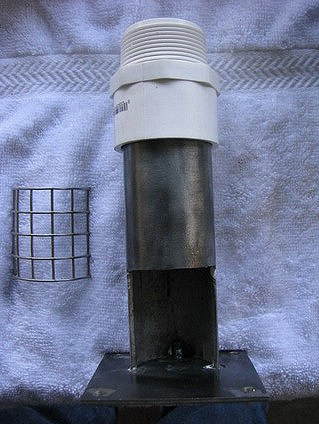
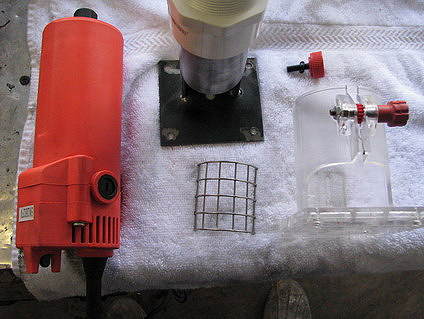
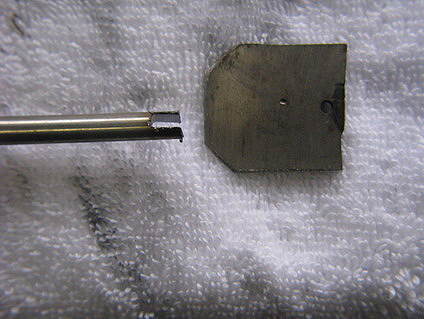
Here are the first parts: 1-1/2 galvanized pipe, 7 inches, 1/8 steel plate to fit your router, finger guard screen, 2 x 2.5 inches. |
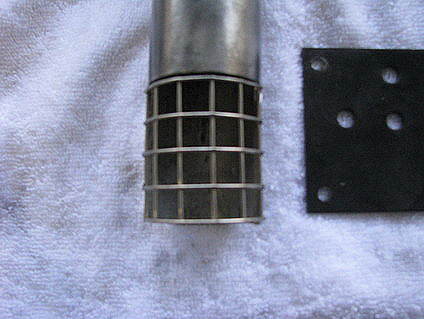
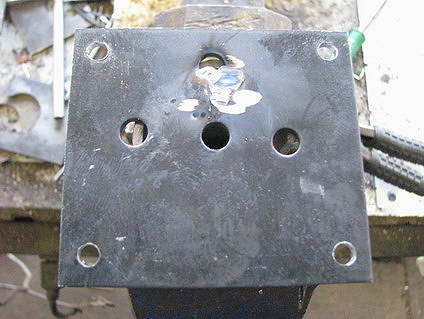
The plate is drilled with a center hole (9/32"), 3 welding holes (9/32') and 4 corner holes (3/16"). Center the pipe, turn it upside down and weld through the welding holes to attach the plate to the pipe.
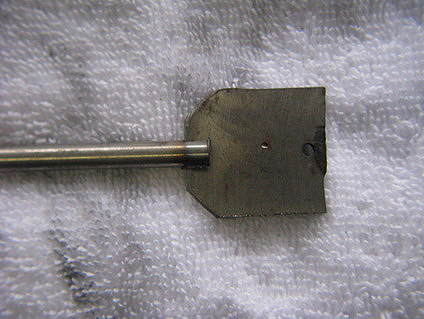
Weld from the bottom.
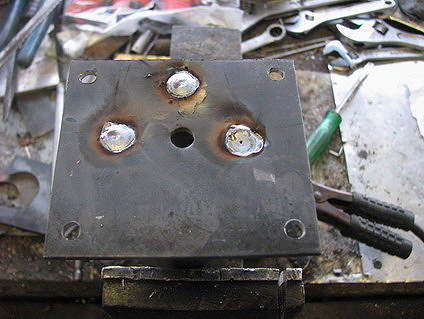
Grind flat.
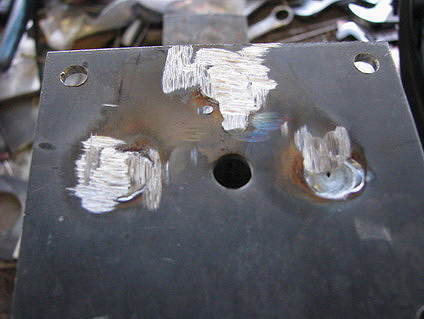
Top view after welding. Notice a weld inside in the middle. I spot weld this first before welding from the bottom just to hold it in place.
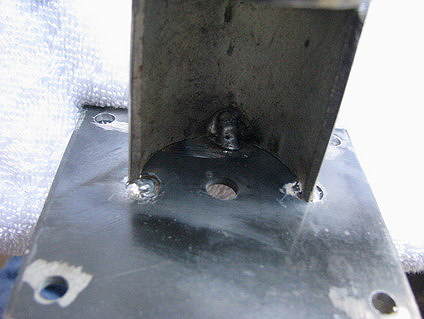
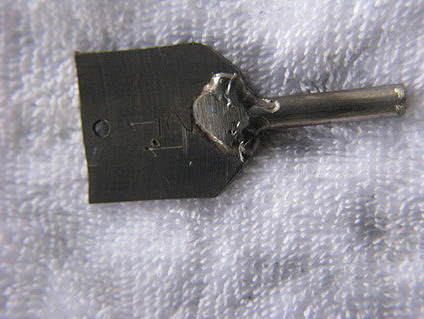
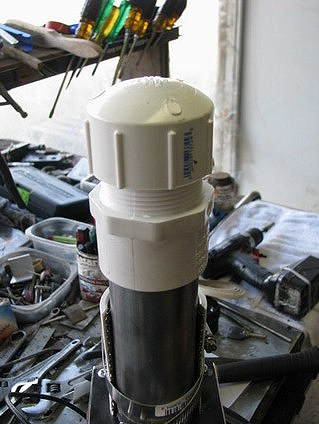
Add a 1-1/2 inch PVC Male Adapter. Use glue such as 2 part epoxy.
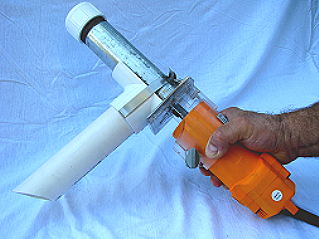
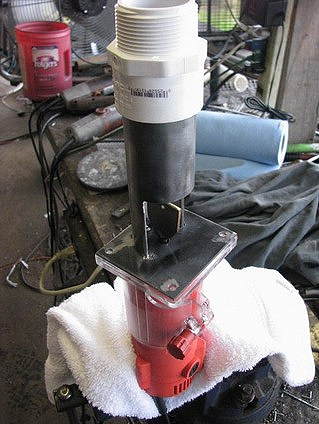
More parts from your router.
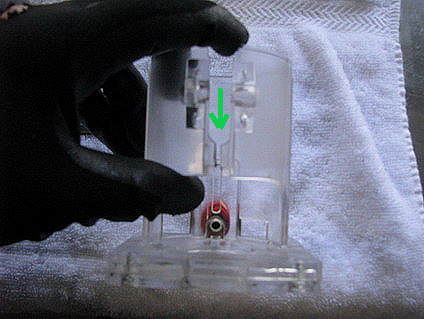
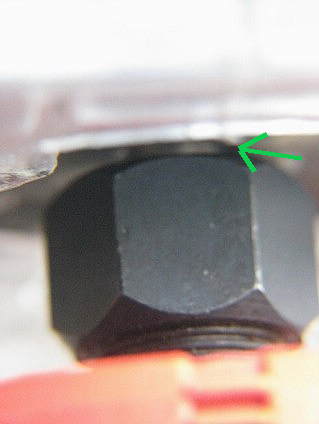
Cut out about an 1/8 inch slice at arrow. This will allow the plastic shroud to tighten down much tighter than normally onto the router motor.
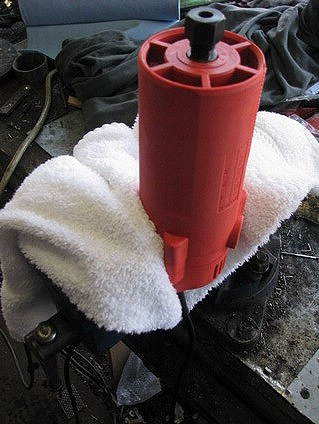
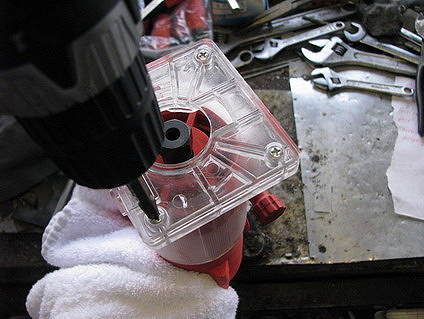
Set the router motor into a bench vice so it can't move as pictured below. Don't over tighten. Use a cloth to protect it.
Attach the plastic shroud or base, but don't tighten it down yet. Remove the screws from the shroud and discard the plastic plate.
Drill the corner holes to 3/16 inch. This will give you plenty of wiggle room to adjust the hopper later.
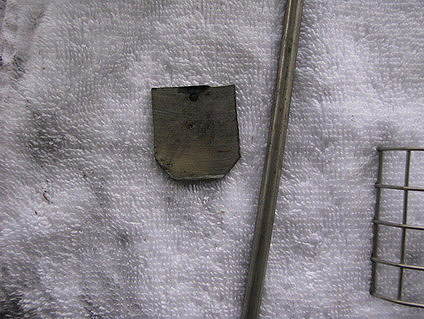
If you are going to make your own bit, here's how. Acquire a 1-1/8 spade bit for this handheld shooter, or an 1-1/4 inch bit for the larger unit. Take off the three points by grinding or cutting. This is high speed steel, very tough stuff.
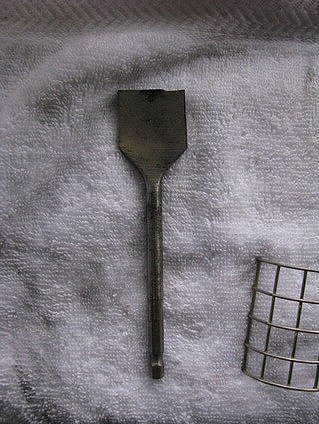
Cut the spade from the shaft. The shaft is generally too thick to fit the router. The shaft has to be 1/4 inch round rod. You can leave the shaft on and grind it down to 1/4 inch by spinning it in a drill onto a grinding wheel, or, you can do it by replacing the shaft with a 1/4 inch stainless steel solid rod as below.
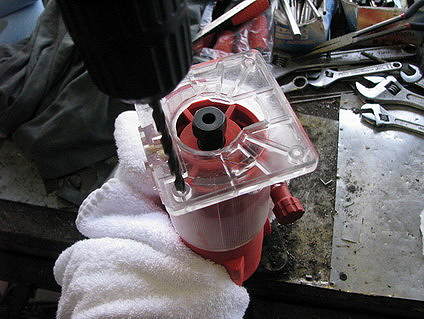
Insert the bit into the router as below and tighten very firmly.
Adjust the hopper plate so there is about 1/8 inch distance between the plate and the bit tightening nut on the router shaft. Then, tighten the router plastic shroud (base) onto the router good and tight so it won't slide up and down. Don't over tighten. This is plastic.
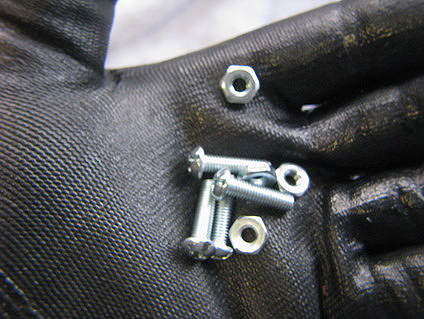
You will need 4 machine screws and nuts, 3/4 inch. I use 10-32 threads.
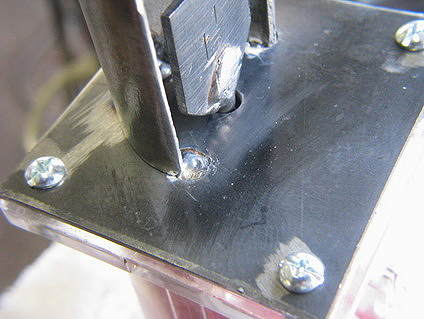
Add the machine screws to the plate through the plastic router base. Be sure to center the steel plate so the bit does not touch the sides of the hole. Tighten the nuts underneath but be careful not to over tighten. The plastic will crack. A bit of Locktite thread tightener can be used to be sure the nuts won't loosen.
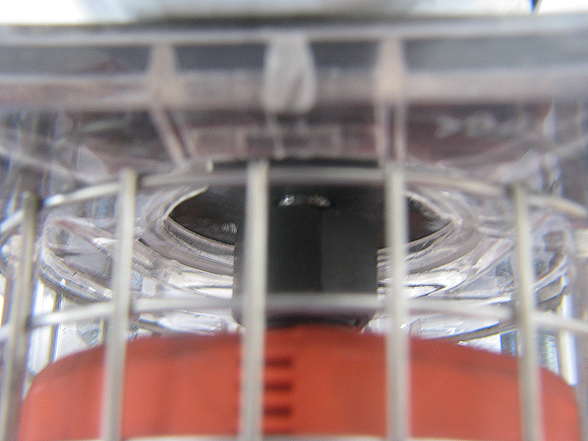
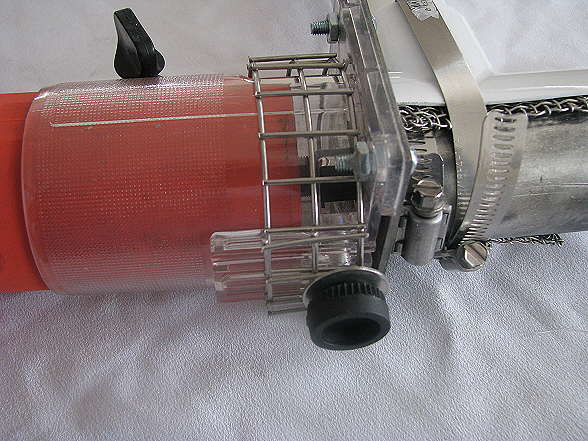
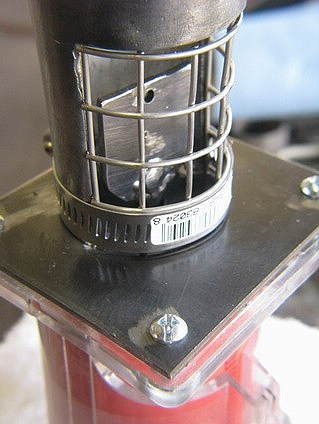
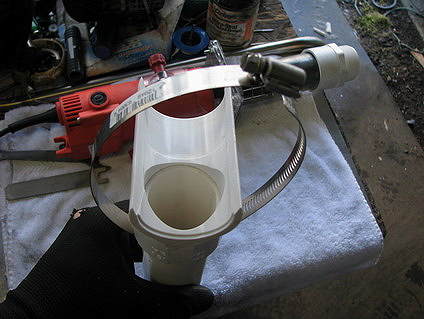
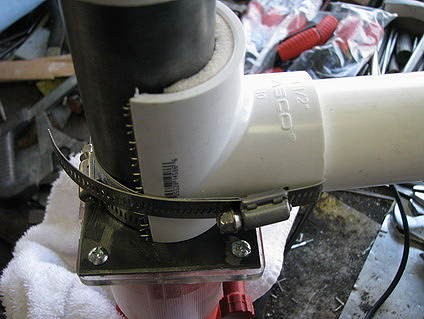
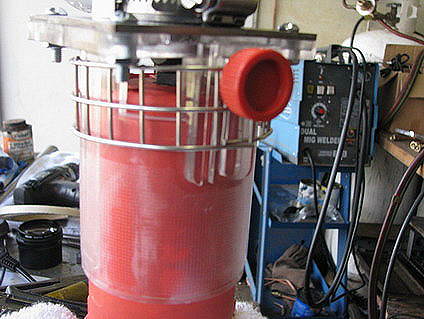
Add the finger guard screen and secure it with a 2 inch hose clamp. Do not operate this machine without this guard in place. Not only does it protect you when cleaning the machine, just in case you do so with the thing plugged in, it also protects the outer screen from damage from large chunks of glass.
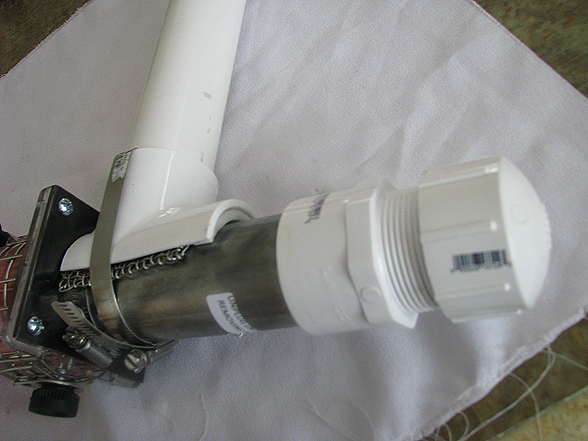
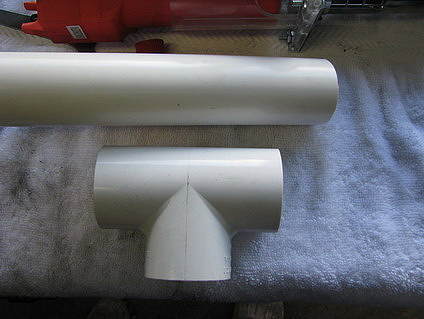
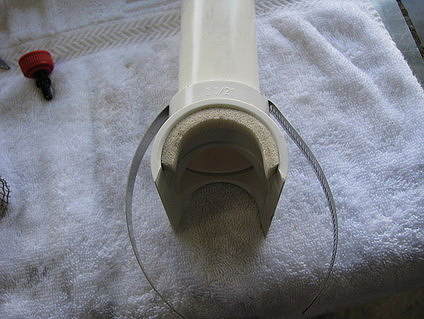
Obtain an 1-1/2 inch PVC Tee and pipe.
Cut one leg off the Tee. Then, cut about a third off the backside of the Tee. I use a cutoff saw and put a piece of pipe in the Tee to hold it safely in the saw. Also, cut about 8 inches of pipe at a bit of an angle.
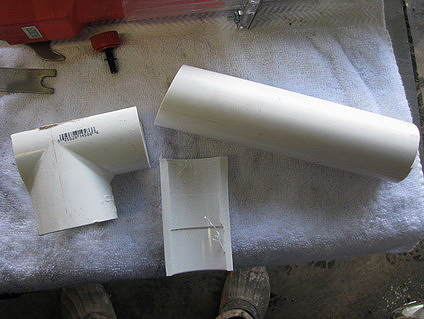
Another picture.

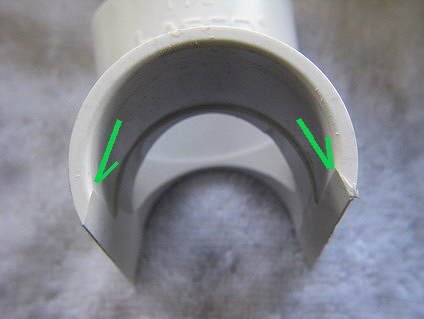
Very important. Sand the Tee where you cut it as below. I use a stationary Disk Sander. If you don't sand this down, the Tee won't fit the galvanized pipe.
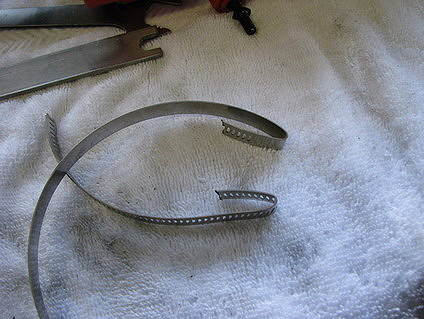
Take a 4 inch hose clamp and cut it as below. Be sure to use a well made clamp. There are some junky light ones on the market that just won't hold up. True Value has some great ones.
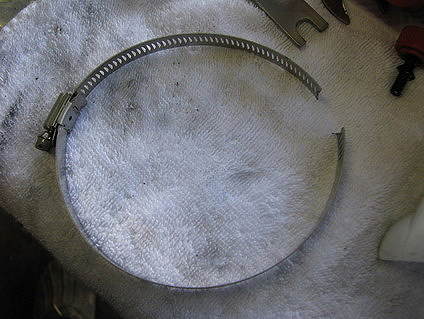
Bend the ends about an inch in as below.
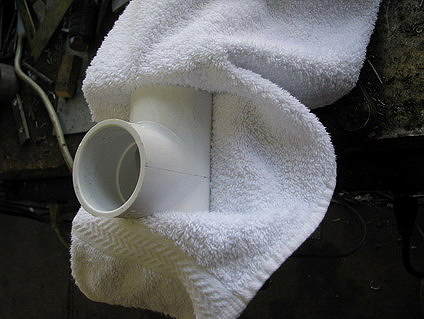
Place a block of wood in your bench vise and place a cloth over it. Insert the Tee as below and clamp it somewhat firmly.
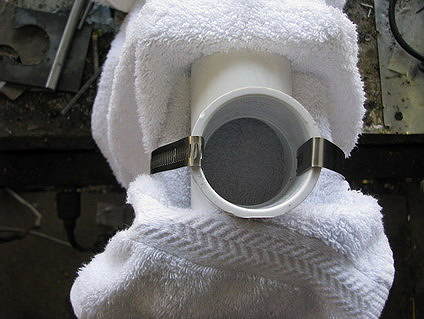
Add the hose clamp halves as below and then drive the 1-1/2 PVC pipe into the Tee, using a rubber mallet. I put a cloth over the end of the pipe also to protect it from damage as I drive it down into the Tee. Because of the hose clamp, the PVC pipe is pretty tight and will need to be driven in place.
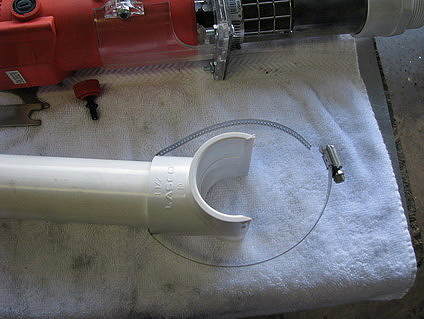
Add a piece of weather stripping to the Tee as below.
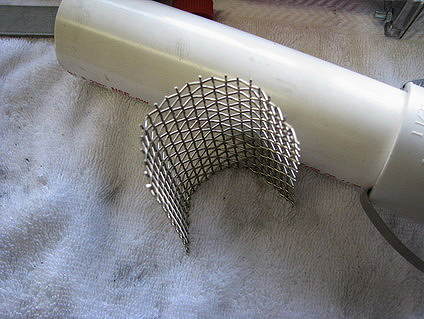
This is the stainless 1/8 inch #2 frit screen. We sell these pretty cheap, so it may be best to get it from us rather than trying to find it or improvising. It's about 3 x 3.5 inches.
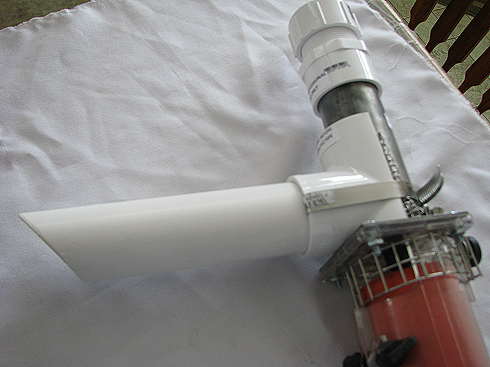
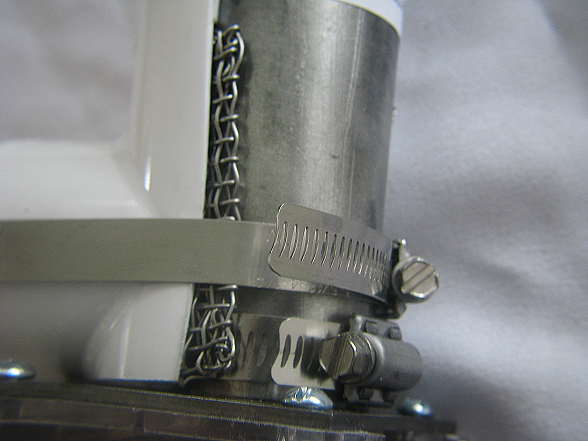
Place the frit screen over the hopper cutout where the finger guard is located and add the PVC shooter. Take a good look at this hose clamp where the tightening screw is. Notice the two staples it is pressed together with. This is the type of hose clamp you need to look for. It is near indestructible.
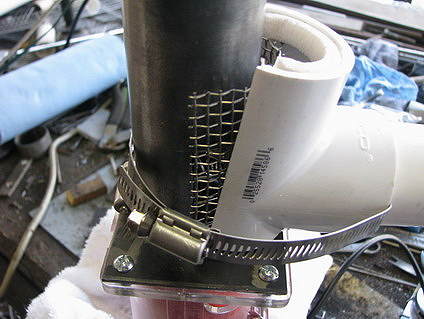
Tighten the hose clamp firmly.
Add the cap.
For safety, it is a good idea to add this router shaft guard screen. This will keep your fingers out of the spinning nut area during operation. We sell this inexpensively on the frit shooter page.
YOU'RE DONE. CONGRATS!!!
Let me know if you need help. I'd be happy to.
More pictures below.